Adding & Arranging Blocks
Block Toolbox

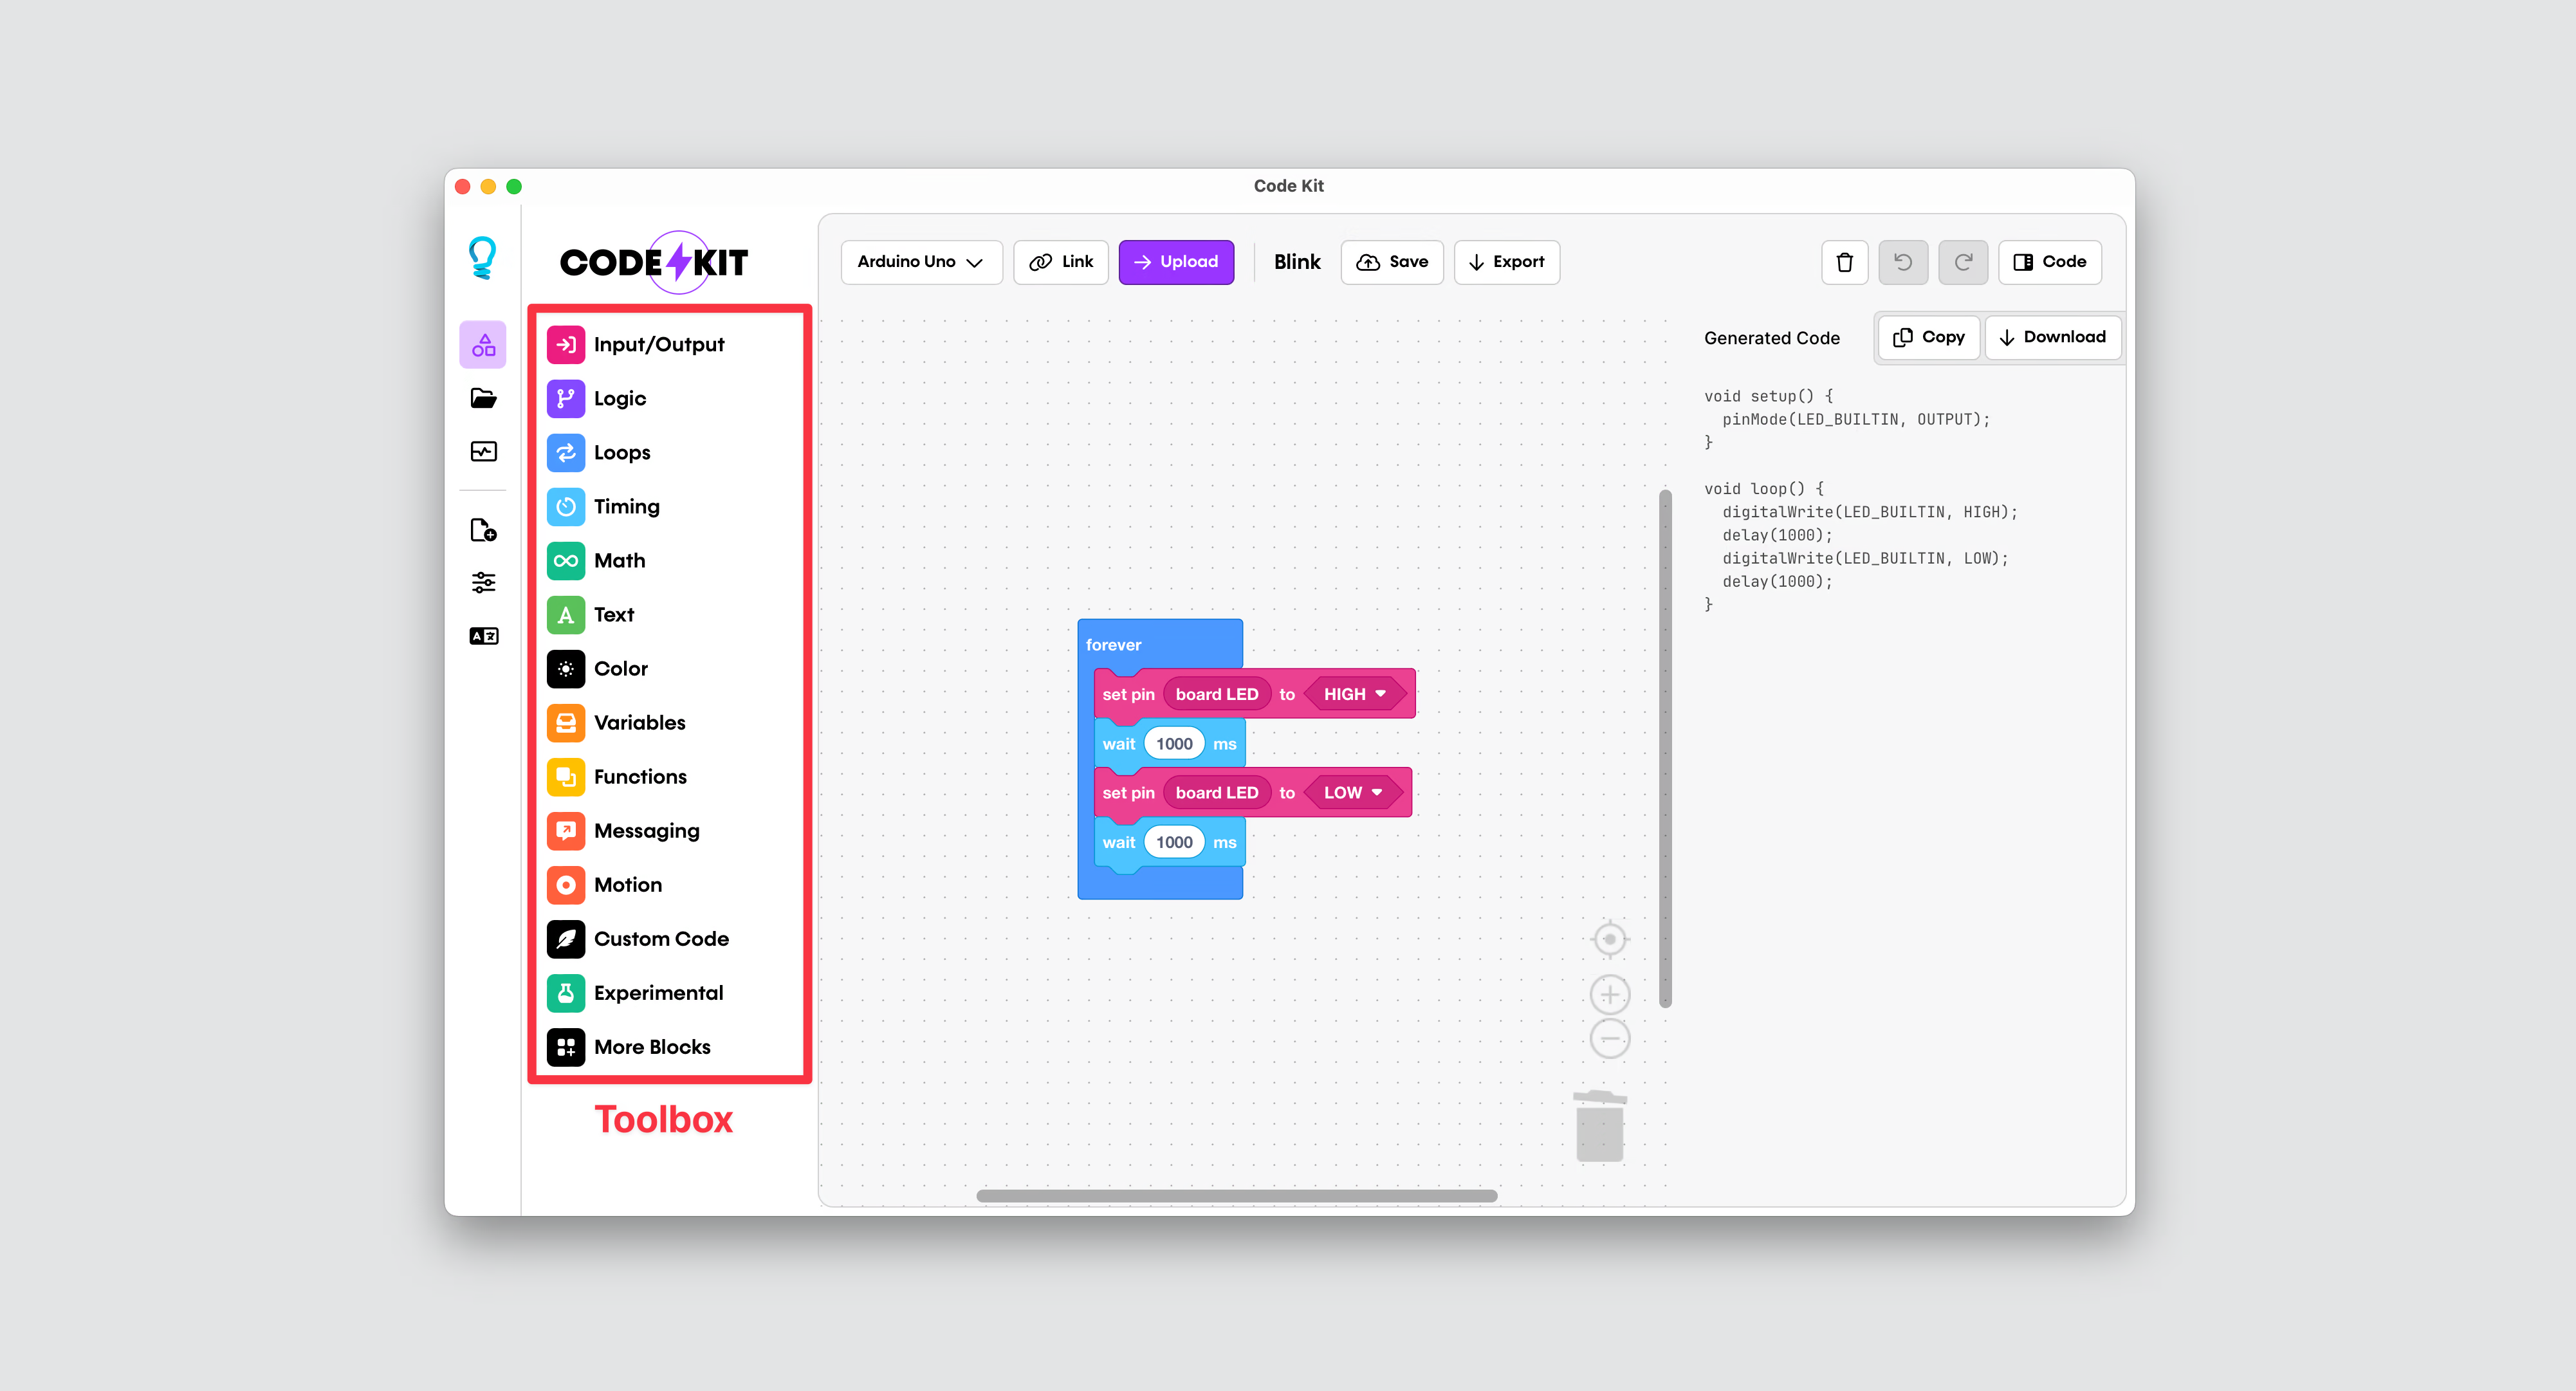
The block toolbox is located on the left side of the workspace (highlighted in red above).
Blocks are used to create programs in the workspace. The toolbox, located on the left side of the workspace, organises blocks into different categories.
Click on a category to reveal the blocks in that category. A flyout containing the blocks will appear. To close the flyout, click anywhere outside the flyout.
Enable More Blocks
By default, some blocks and categories are hidden from view.
- To enable more categories, click on the More Blocks item in the toolbox.
- To enable advanced blocks (e.g.
pulseIn,micros, etc.), open the Settings menu and enable the Advanced Mode option.
Adding Blocks
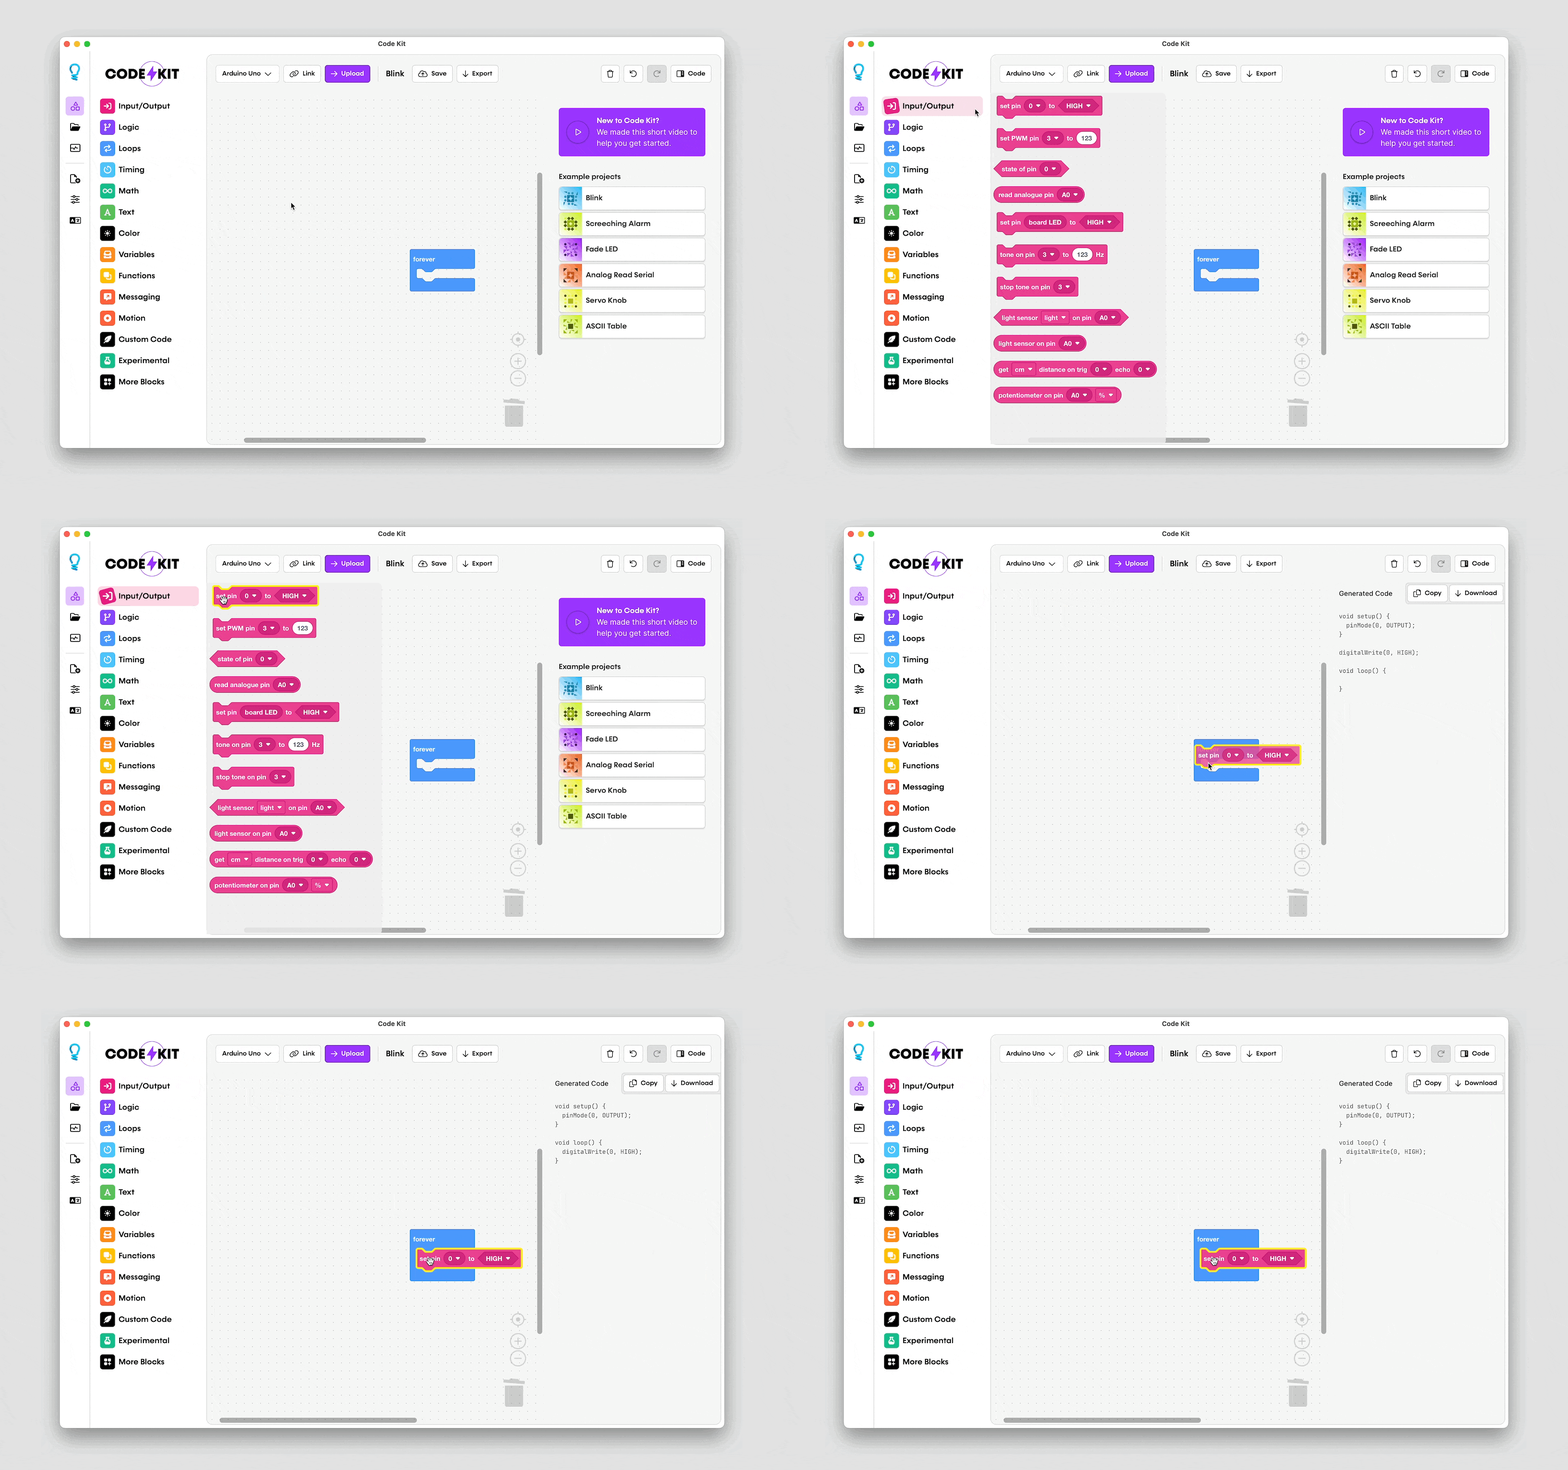
Blocks are organised into different categories. Click on a category to reveal the blocks in that category.
To add a block from the toolbox to the workspace:
- Hold down the left mouse button
- Move the cursor over the main workspace
- Release the left mouse button to place the block.

Arranging Blocks
Blocks can be arranged in the workspace by dragging them around. This is the same drag-and-drop process used to add blocks.
To move a block:
- Hold down the left mouse button on the block
- Move the cursor to the desired location
- Release the left mouse button to place the block.